“I may not know much, but I know the difference between chicken shit and chicken salad.”
–Lyndon B. Johnson
The roots of jerk are as enticing to me as the unique flavors. I get turned on by stories of survival, wilderness, outdoor cooking, and tradition. The history of jerk includes all of these elements. To summarize the history, imported African slaves escaped their captors into the mountains of Jamaica where they became known as the Maroons. Blending spices including the pimento berry, also known as allspice, the Maroons marinated wild boar in this heavenly mixture and grilled it over a pimento wood lattice. Although I can’t find direct record of it, I am pretty sure the word jerk came to as people tried it for the first time, so many of their pleasure centers firing at the same time resulted in seizing with a rhythm that could best be described as “Jerk.” Yes, that sounds right.
It takes one to know one…that’s why this recipe is on point. I have always been a big fan of Caribbean Jerk flavors and have been obsessed with perfecting the recipe for a while now. The way the gingery sweet heat comes together with the charred kiss of the grill is right up there with my favorite flavor profiles.
I have scoured resource after resource, “traditional” recipe after traditional recipe. You see, my goal isn’t to make the world’s most authentic Jerk, it is to create a recipe that was worthy of the Terminally Grill endorsement. I want a recipe that is universally pleasing, flavorful, bold, and guaranteed to bring family and friends together around the grill. You don’t become the best by throwing a couple of ingredients together…feast your pie holes on this creation! Call your friends.
This recipe requires that you start the day before serving, 18 hours minimum for best results.
Terminally Grill© Jerk Chicken
1 tablespoon ground pimento (allspice)
1 cup onion, finely chopped
3 green onions (scallion), finely chopped
1½ tablespoon dried thyme
1 ½ teaspoons ground black pepper
1 teaspoon ground sage
1 teaspoon ground nutmeg
½ tablespoon cinnamon
2 tablespoons garlic powder or fresh garlic
¼ cup brown sugar
¼ cup vegetable oil
¼ cup soy sauce
¾ cup white Vinegar
½ cup orange juice
1 medium orange
¼ cup dark rum
Juice from 1 lime
1-3 Scotch Bonnet (hot!!!) peppers (substitute jalapeño for less heat)
1 whole chicken or 8 pieces
Add all of the ingredients, less the chicken, to your food processor, adding the liquid ingredients last and adding them slowly. Note: Unless you have worked with Scotch Bonnets, I recommend you start with one to gauge the strength of these bad boys and add to taste…these ain’t no jalapenos! Once you have the ingredients blended together, place chicken pieces in a non-reactive container or a heavy-duty Ziploc bag. Pour the magic over the chicken, agitating it to make sure that nothing goes untouched. Place container in the refrigerator for at least 18 hours and no more than 24.
Thirty minutes before you plan to start cooking the chicken (1.5 hours before serving), remove the container from the refrigerator and set to the side. This is a great time to light the charcoal. As I always recommend, you are going to want to use a two-zone set-up (charcoal or chunks on one side of the grill only) for this recipe, as you will be using direct and indirect grilling for your soon to be famous jerk.
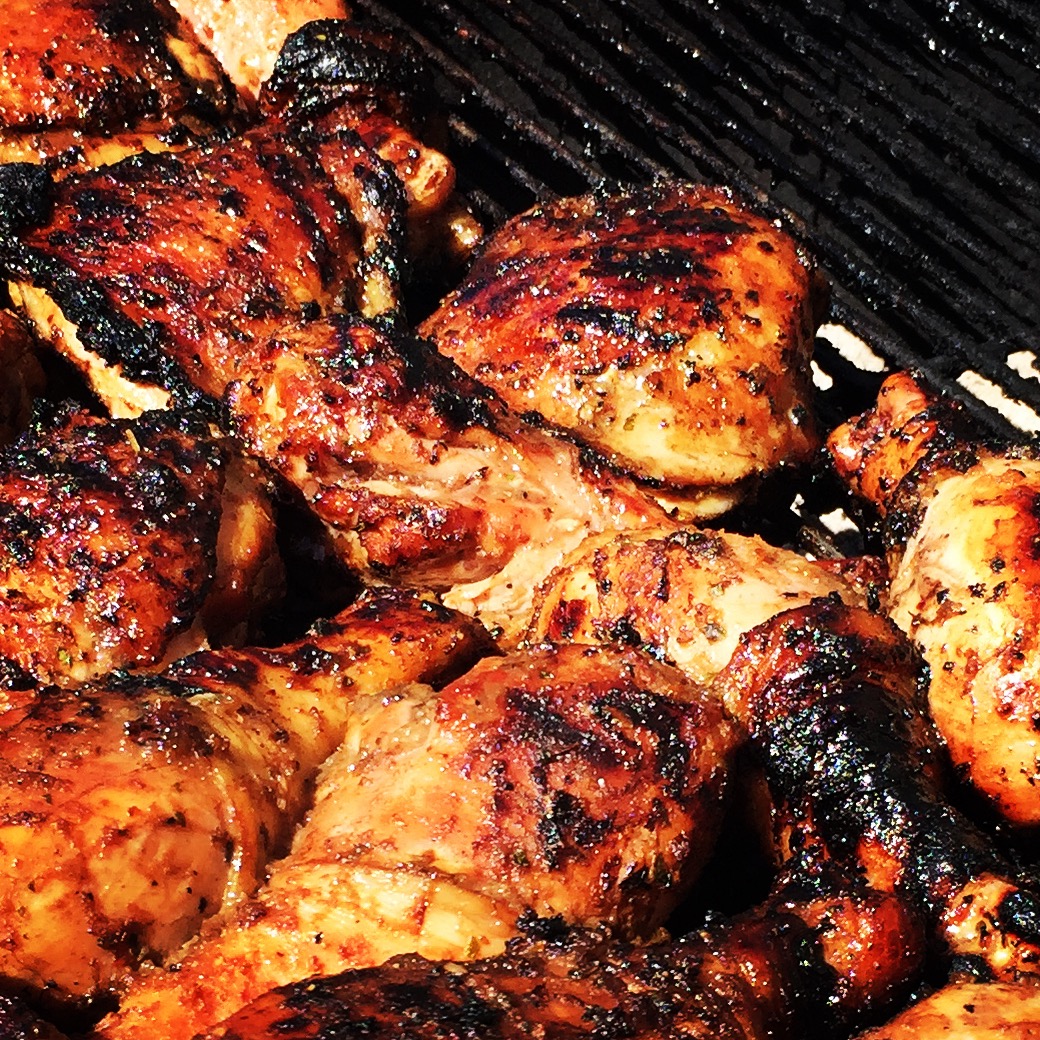
Once the 30 minutes has past, and if your coals are grey, remove the chicken from the marinade and place it directly over the coals and put the lid on with about 20% air flow. If you don’t know your grill that well, check on the chicken after a minute or so to make sure you are making jerk, not jerky. The sugar content of the marinade will lead to some desirable charring. Once you have good color (brown, to dark brown) or have cooked the chicken with direct heat for 20 minutes, move the chicken to the indirect side of the grill and cover. Cook the chicken indirectly for at least 35 minutes, 45 being ideal, turning over once and basting occasionally with the remaining marinade. For the best results, have minimal airflow for this period of grilling as we will draw on the low and slow philosophy to finish the chicken.
With about 15 minutes of cooking left, take the remaining marinade, place it in a small sauce pan and bring it to a boil. Let boil for 60 seconds and then remove the sauce from the heat. You have just taken the marinade and made it in to a dipping sauce, for those who so desire, or an amazing salad dressing once cooled.
Now is the time you can start talking trash to your guests about who rules the grill. You do. Remove the chicken and tent it with foil for 10 minutes before serving. The charred goodness is sure to please your guests and will keep them coming back. Make sure you take some time to talk to your guests, even if they are guests that live in the same home as you. Grilling is just cooking without friends and family.